Cleaning Document Photos
How to clean up a photo of a document for printing, using GIMP.
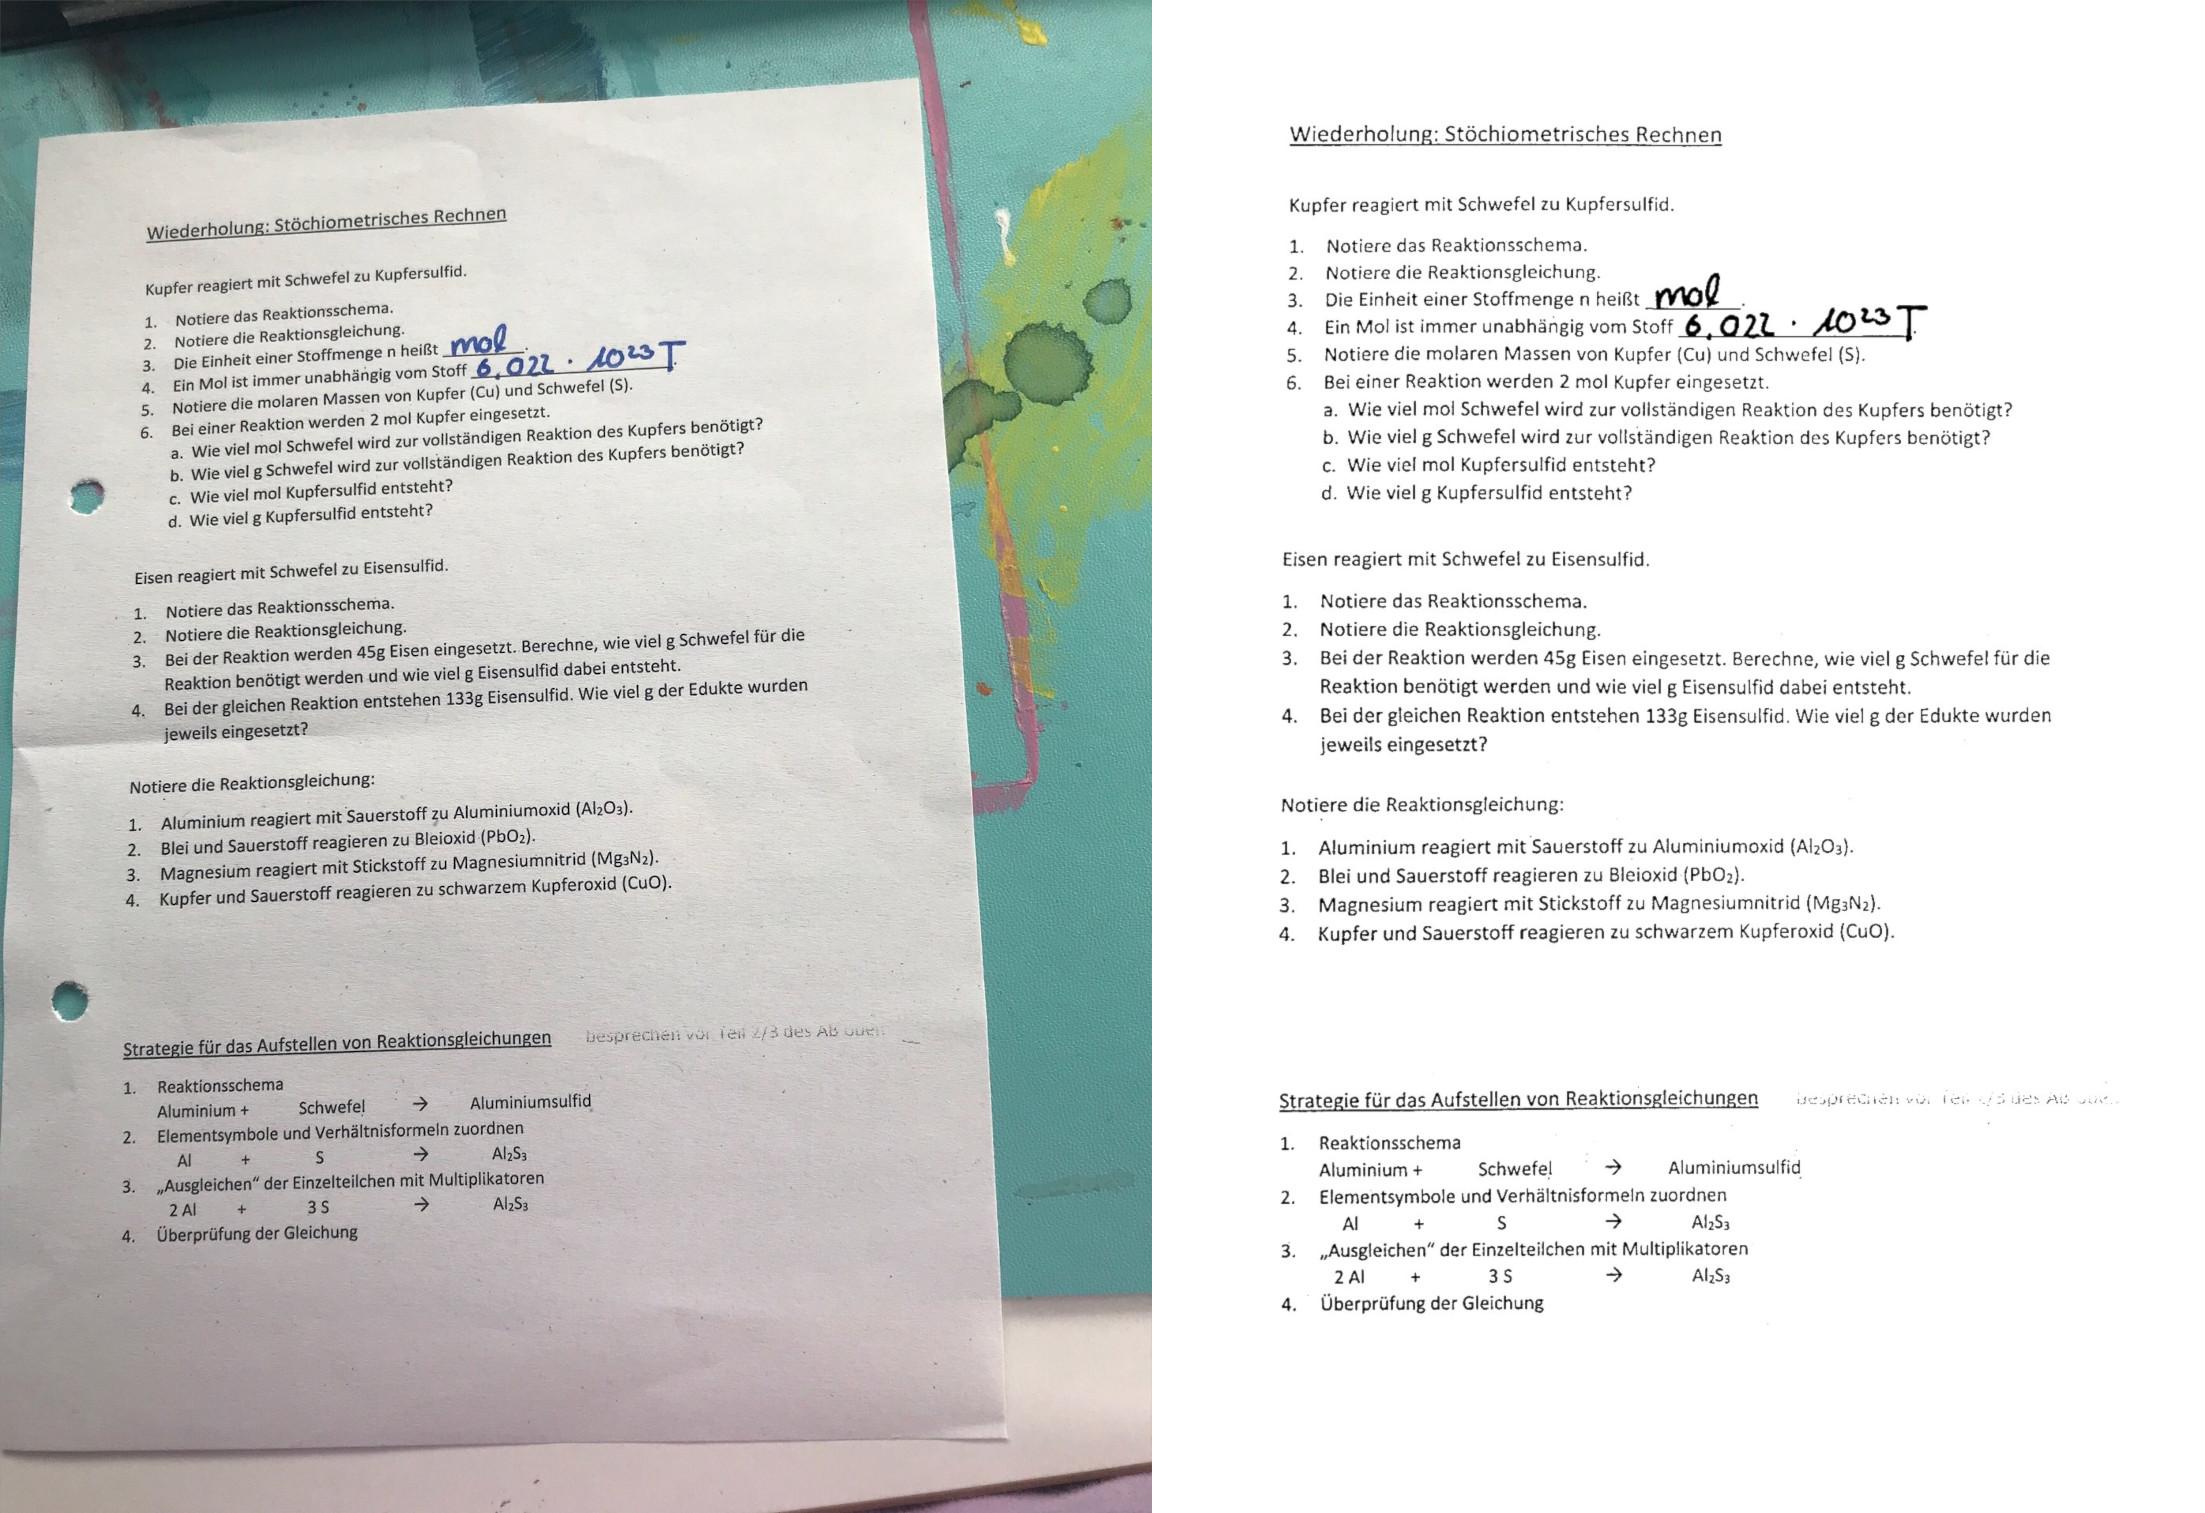
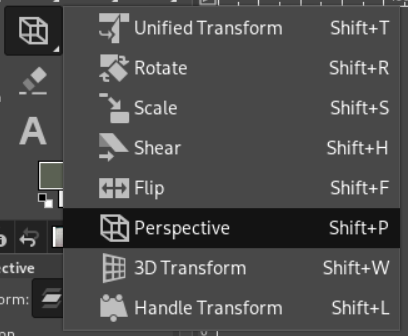
1. Adjust perspective and crop
Select the Perspective tool and use it to align the document by moving the edges of the picture.
You may need to right click on the unified transform tool to switch to it.
Then use the crop tool to crop your file to the document.

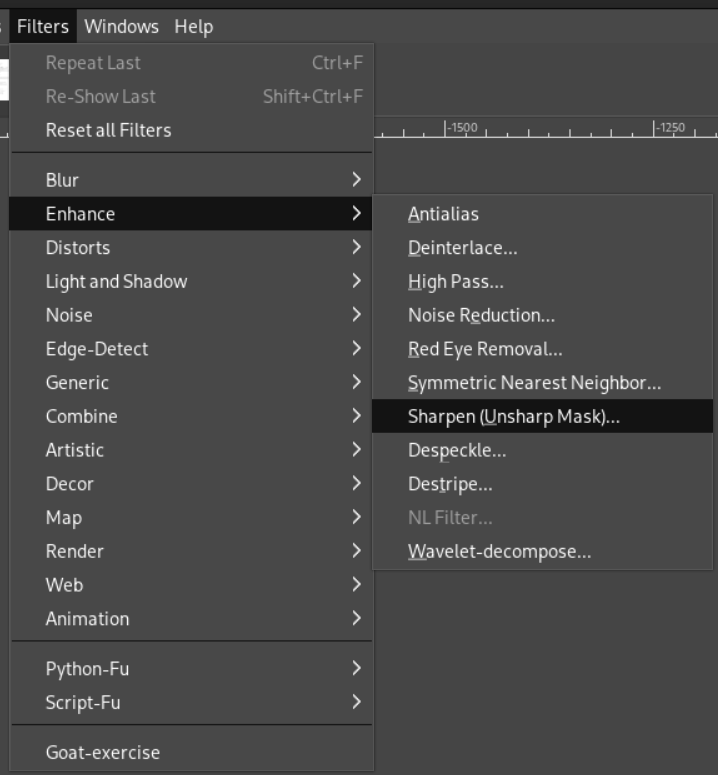
2. Sharpen (edge enhancement)
Use the sharpen filter to enhance edges. The default settings are fine.
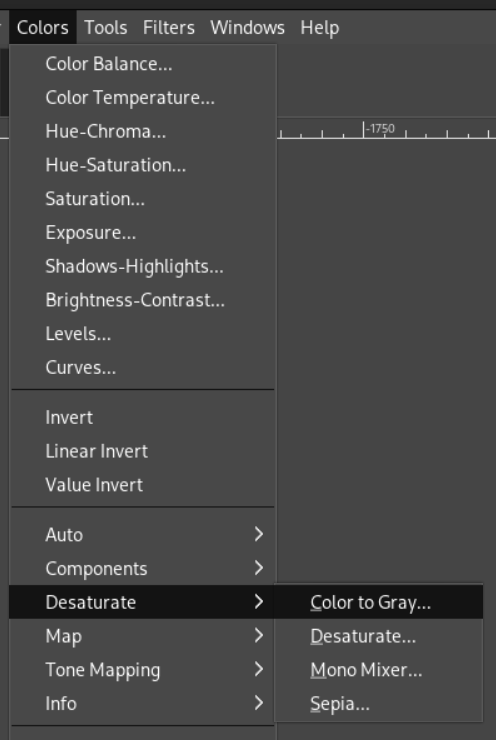
3. Desaturate
Desaturate the image, to make it easier to work with. If your document has colors that are important, skip this step.
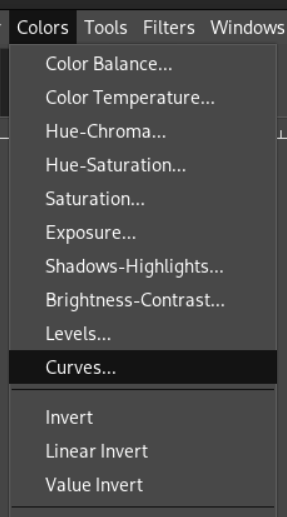
4. Adjust curves
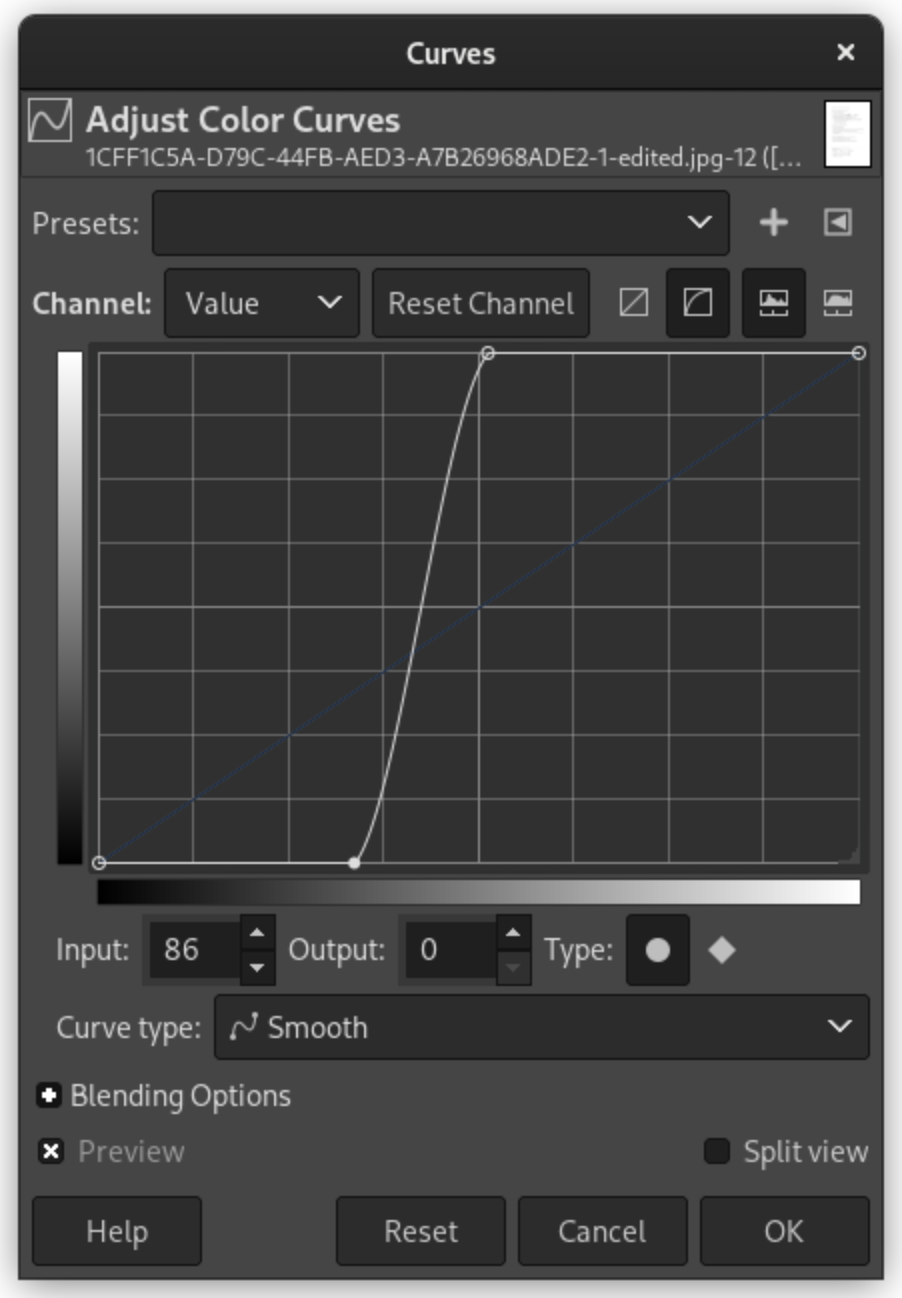
Open the curves adjustment window.
Pull the top right to the left until the white background looks white and the bottom left to the right until the text looks black.
5. Clean borders
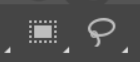
Use the rectangle select or the free select tool to select white areas you want to clear and press the delete key on your keyboard.
If pressing delete makes it a color instead of white, set your background color to white.
You can click on the button below the tool selection to set the foreground color to black and the background color to white or press D on your keyboard.

Notes
If your picture has little contrast and inconsistent lighting, you may need to select areas using the rectangle select tool and apply different curves on different areas.
If your photo was heavily compressed (for example sent as a jpeg over WhatsApp) and/or is low resolution, you can use waifu2x for noise reduction and upscaling.